Chirpy Config - goatcounter로 페이지뷰 설정하기
Chirpy Config - goatcounter로 페이지뷰 설정하기
goatcounter로 페이지뷰 설정하기
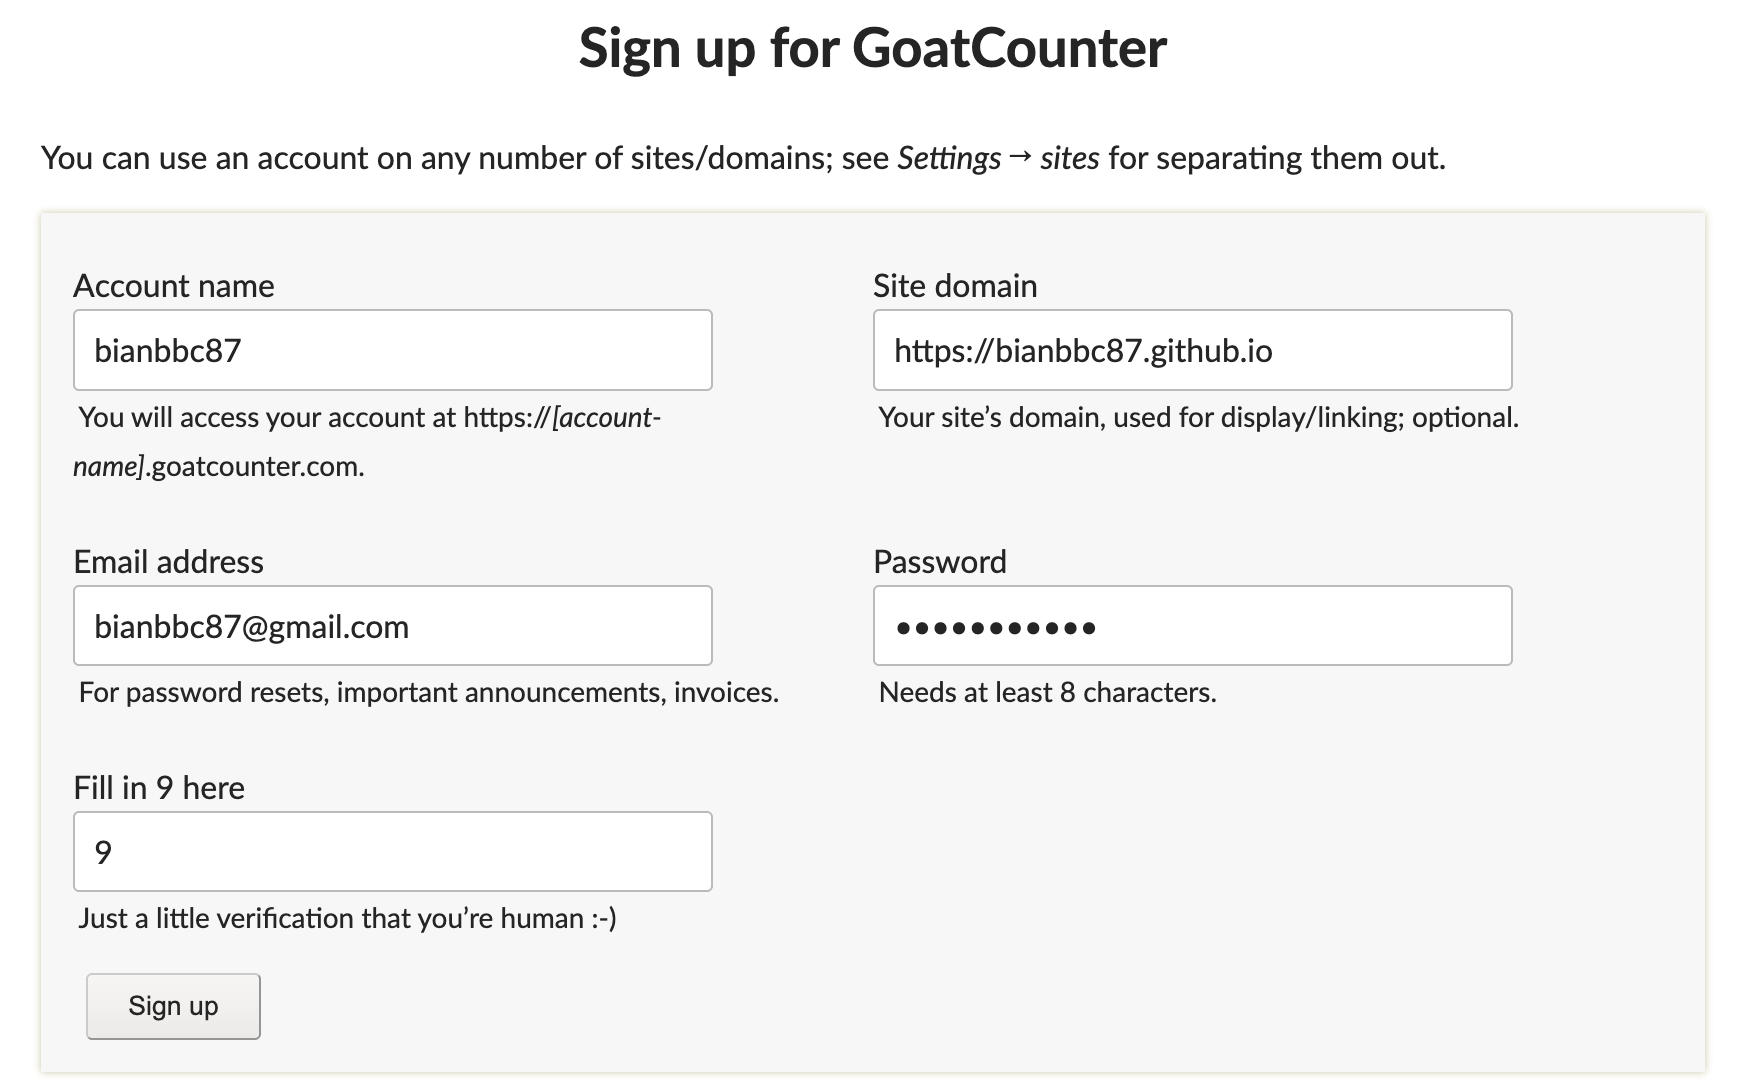
1. goatcounter 사이트에 회원가입 합니다.
Code: goatcounter 사이트에서 사용할 코드입니다.
Site domain: 블로그 도메인
https://{username}.github.io을 입력합니다.Email address: 로그인용 이메일 주소를 입력합니다.
Password: 로그인용 비밀번호를 입력합니다.
Fill in 9 here: 사람 검증 절차입니다. Fill in에 적힌 숫자 그대로 입력하면 됩니다.
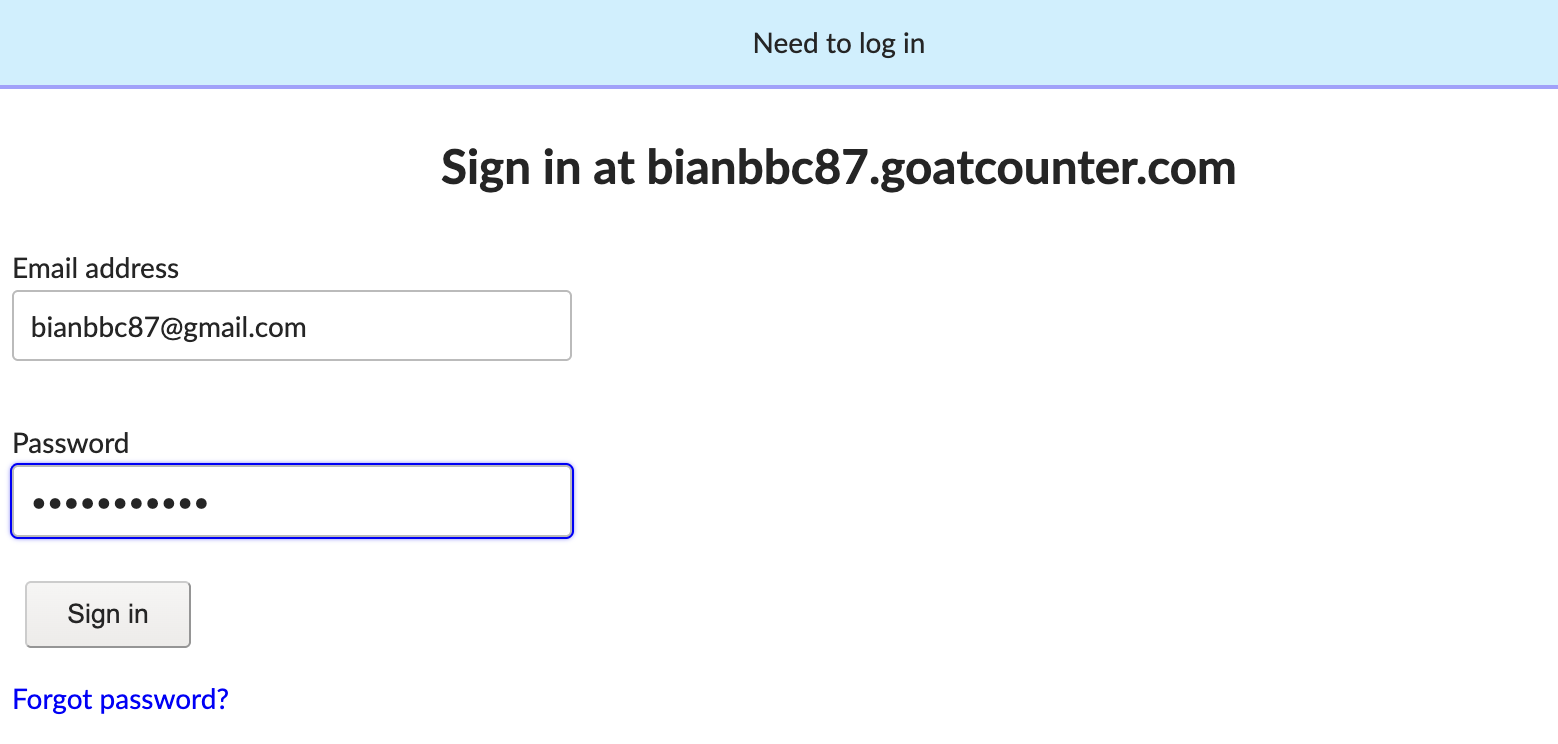
2. 이메일을 확인합니다.
1번에서 입력한 이메일로 GoatCounter 메일이 와있습니다. Please go here to verify your email address:의 링크로 접근해 이메일과 비밀번호로 로그인 합니다.
3. 사이트 코드를 확인합니다.
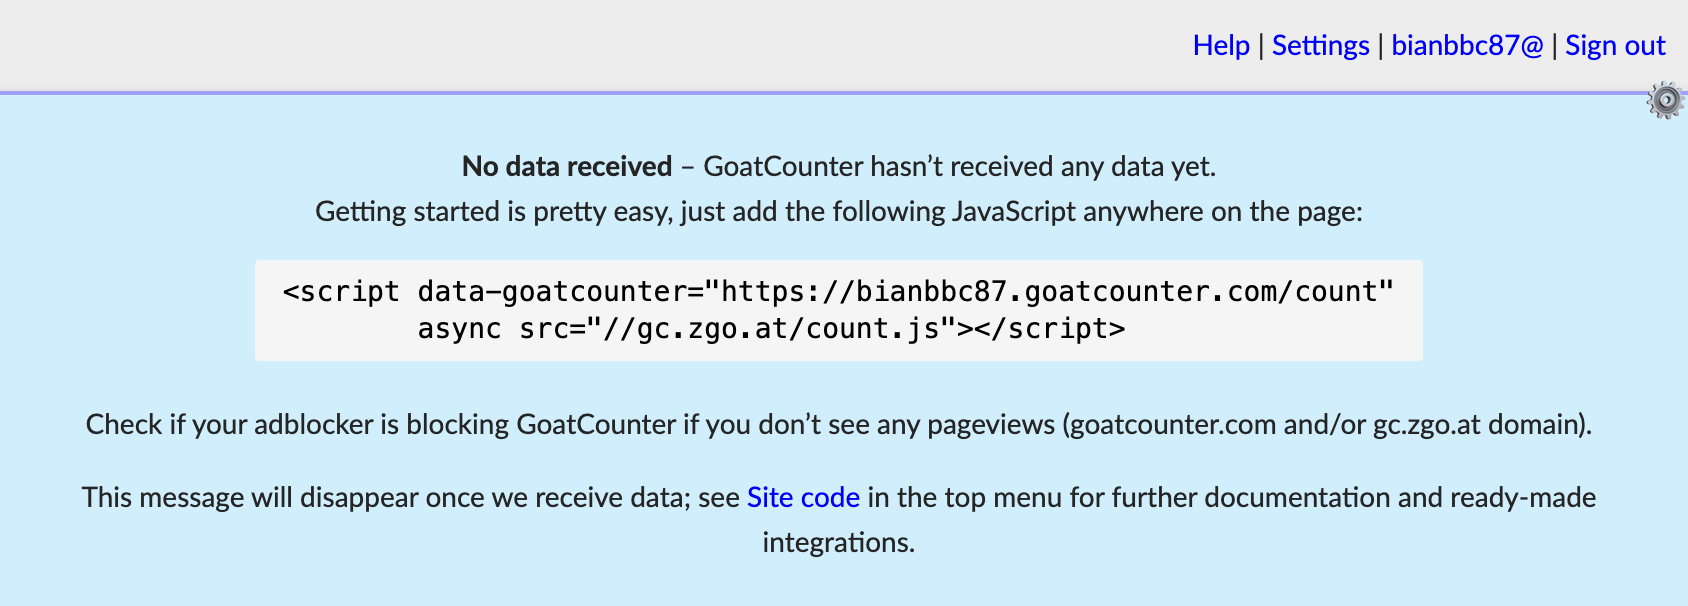
방금 설정한 Account Name이 Site Code입니다. 여기서 Site Code는 bianbbc87입니다.
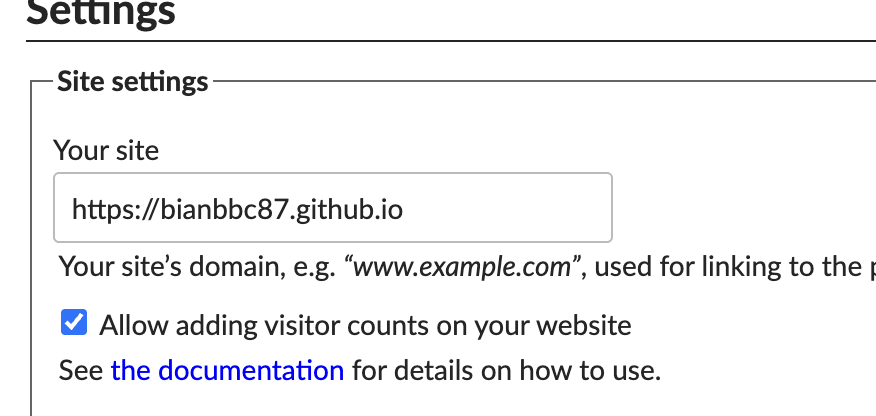
4. 우측 상단 Settings 클릭 후 Allow adding visitor counts on your website... 체크박스를 활성화 하고 저장합니다.
1
2
<script data-goatcounter="https://bianbbc87.goatcounter.com/count"
        async src="//gc.zgo.at/count.js"></script>
5. analytics config에 goatcounter.id를 등록합니다.
1
2
3
4
5
analytics:
  ...
  goatcounter:
    id: bianbbc87
  ...
6. git push로 재배포 합니다.
7. 상세 포스트 페이지의 제목 하단에 views가 추가된 것을 확인할 수 있습니다.

This post is licensed under CC BY 4.0 by the author.